.png)

Shopify Schema Markup 101: The Only Guide You’ll Ever Need
Most store owners never touch Shopify schema markup. They are obsessed with redesigning their theme for the tenth time or throwing money at Facebook ads that go nowhere.
But the schema is the difference between your store being just another link on Google and actually getting steady sales instead of vanity traffic.
That said, schema isn’t something you want to take chances on.
Get it wrong, and it will do more harm than good.
This guide is what changes that.
You will get different types of Shopify schema markup and learn exactly how to implement them without wrecking your setup.
What Is Shopify Schema Markup?
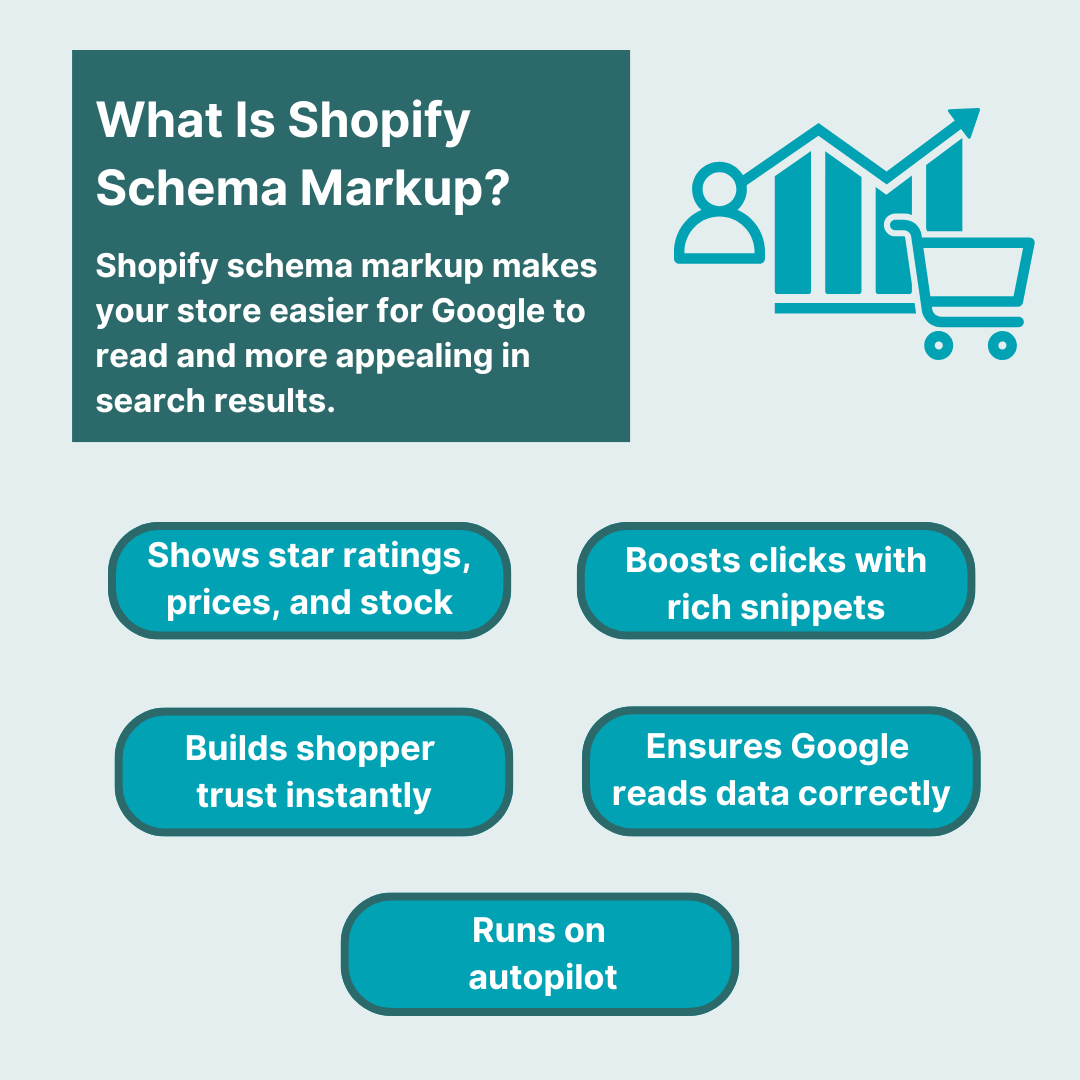
Shopify schema markup is structured data that you add to your Shopify store so Google (and other search engines) can understand your content in a very specific way.
Rather than just reading your product page as a collection of text and images, schema tells Google exactly what those elements mean.
For example:
- Schema makes it clear to Google that $49.99 is the product price, not just a number on the web page.
- Instead of assuming “4.8 stars” is a review, schema confirms this is the product rating.
- Through schema, Google gets a clear signal that your product is in stock
So essentially, the schema is about what search engines see in the background.
And when search engines get that clarity, they reward you by showing your products in more attention-grabbing formats in search results.
Why Schema Markup matters for Shopify Stores
Here’s why Shopify schema markup is worth caring about:
- Better visibility: Your results can show star ratings, prices, stock levels, FAQs, and more.
- Higher click-through rates: Rich snippets draw clicks that plain links just can’t. In fact, users click on rich snippet results 58% of the time.
- More trust at first glance: Shoppers see key info before clicking, which builds confidence.
- Google sees it clearly: Clean, structured data means Google presents your store the way you intended.
- Passive advantage: Do it right once, and it handles the rest on autopilot.
How Does Shopify Schema Markup Actually Work
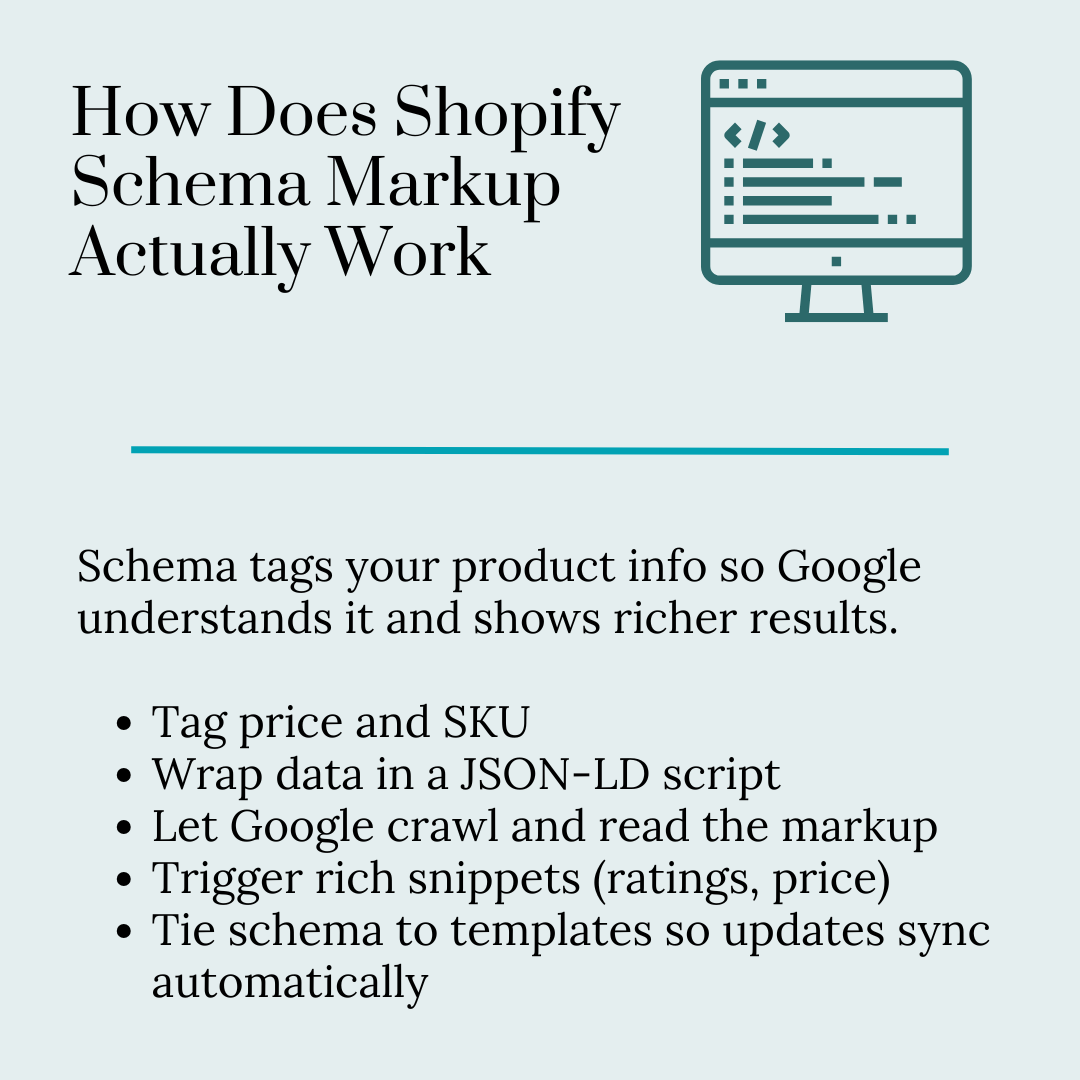
This is where most guides get vague, but let’s break it down step by step so you understand the process.
1. Your store has raw content
Things like product names, descriptions, prices, reviews, FAQs, etc. They look fine to humans, but are unstructured to search engines.
2. Schema tags your raw content
Schema markup uses a universal format (JSON-LD, which is just a lightweight script) to label your data. So instead of Google working it out on its own, you are basically spoon-feeding it the details.
For example:
<script type="application/ld+json"> tells Google: here comes structured data.
Inside that script, you define “@type: Product” and then include fields like name, price, availability, and rating.
3. Google crawls your store
When the Google crawler hits your page, it reads both your visible content and the hidden schema script. With the schema, it instantly knows how to categorize and present the information.
4. Rich results get triggered
If your schema is valid and matches what is on the page, Google can display your listing with extras like stars, prices, FAQs, or breadcrumbs. That is what makes your store stand out compared to competitors.
5. Ongoing updates happen automatically
In Shopify, once schema markup is tied to your product template, any changes (like price or stock) are shown in the structured data too. You set the structure once, and it adapts as your store changes.
For an analogy, consider how you’re reading this blog post. I’ve structured it into headings, sub-headings and bullet points.
This structure allows you to quickly find the information you want. Imagine if this post contained the same information but was an unformatted wall of text. It’d be pretty hard to understand right?
In the same way, schema is the structure that crawler bots prefer to quickly understand your Shopify stores pages. And the better crawler bots understand you pages, the more chance that search engines will show them to relevant shoppers.
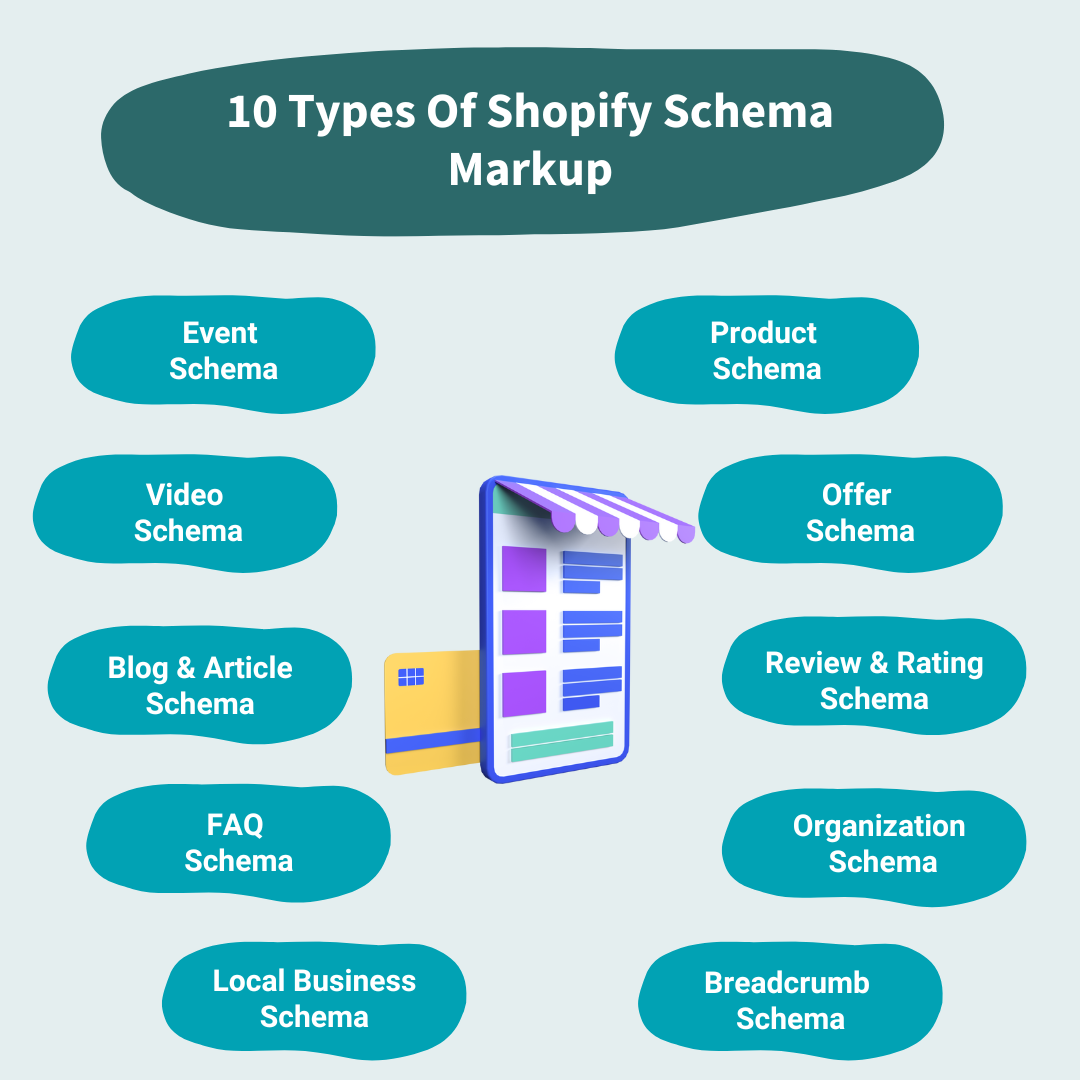
10 Types Of Shopify Schema Markup & How To Implement Each
Most Shopify store owners don’t want to mess with code. It’s too technical. But this is where schema apps can save the day.
These apps automatically generate and add JSON-LD structured data to your Shopify store, so Google understands your content.
You just need to configure these structured data formats properly. Here’s how to do it right.
Schema Markup For Products
1. Product Schema
Product schema tells Google the core details of your products. Without it, your product pages are just text and images to a search engine.
Required fields (apps should automatically cover these):
- @type: Product → tells Google it is a product.
- name → product name.
- image → product image URL.
- description → product description.
- sku or gtin → unique identifiers.
Recommended fields (configure these inside your Shopify app if available):
- brand → your store brand.
- category → Google Product Category, if possible.
- material, color, size → useful for apparel.
How to implement with an app:
- Install a trusted schema app from the Shopify App Store, like JSON-LD for SEO by Little Stream or Schema Plus for SEO.
- Once installed, connect it to your product catalog. The app pulls product structured data (title, images, descriptions, etc.) directly from your Shopify admin.
- In settings, make sure it maps fields correctly. Some apps let you manually assign brand or category information.
👉 Tip: Check the app’s schema preview to make sure your product fields are complete before pushing live.
2. Offer Schema (Pricing & Availability)

Offer schema sits inside your product schema and gives Google the “money details” buyers actually care about: price, currency, and stock status.
What needs to be structured:
- price → current selling price.
- priceCurrency → e.g., “USD,” “AUD.”
- availability → InStock, OutOfStock, PreOrder.
- url → product URL.
How to handle multiple variants:
Good schema apps automatically create multiple Offer entries for each variant. For example, this online metal tools store sells different types of benders. Each type should get its own Offer schema with a unique price/availability.
That means Google sees 3 different offers: a $249 manual rebar bender currently InStock, a $799 hydraulic pipe bender marked OutOfStock, and a $399 portable sheet-metal bender set as PreOrder.
Double-check that your app actually includes all variants. Some only pull the default variant unless you enable the setting.
How to implement structured data:
- Inside the schema app dashboard, turn on Offer markup.
- Make sure your Shopify inventory and pricing are synced properly – schema apps don’t create prices, they just pull what is in your admin.
- If you run sales, apps usually update the price and priceValidUntil fields automatically, so Google sees discounts.
👉 Tip: Always keep inventory accurate in Shopify. If Google finds mismatched stock info (schema says “In Stock” but page says “Out of Stock”), it can strip your rich results.
3. Review & Rating Schema
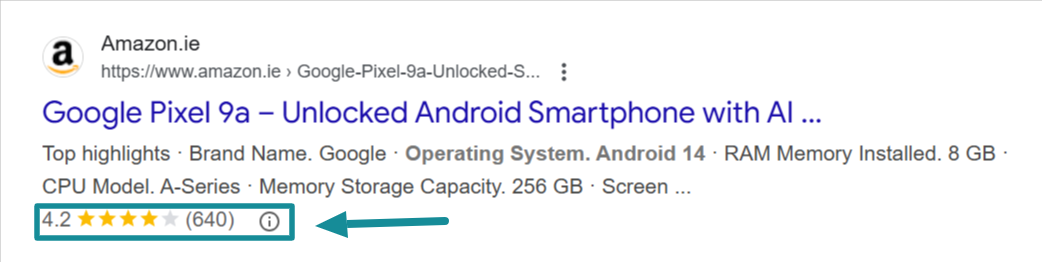
Review schema tells Google how customers rate your products. This is what gets you those gold stars in search engine results. And those stars aren’t just for show – displaying reviews can increase conversion rates by as much as 190%. That makes review markup one of the most powerful ways to turn casual browsers into buyers.
Setting up review markup:
- Review apps like Judge.me or Stamped.io integrate with schema apps.
- Schema apps detect review data from these integrations and create aggregateRating markup (average rating + number of reviews).
- Make sure your review app is feeding key data into your schema app. Some apps, like JSON-LD for SEO, already connect directly.
Avoiding review schema penalties:
- Don’t mark up customer reviews that don’t exist. Google will penalize fake or empty review markup.
- Reviews must be visible on the page for customers. If Google doesn’t see reviews in the page content, it can flag the markup.
- Don’t use “self-serving” reviews for the Organization schema. Google only allows review markup for specific products, not your entire store brand.
How to integrate with Shopify review apps:
- Pick a review app that supports structured data (Judge.me is a safe bet).
- In your schema app settings, confirm that “reviews” and “aggregate rating” are turned on.
- Test a product page in Google Schema Markup Validator and Rich Result tool to confirm ratings are being picked up.
👉 Tip: If your stars aren’t showing yet, don’t panic. Google decides when to display them. Keep the schema clean and consistent, and they usually appear over time.
Schema For Storewide Information
4. Organization Schema
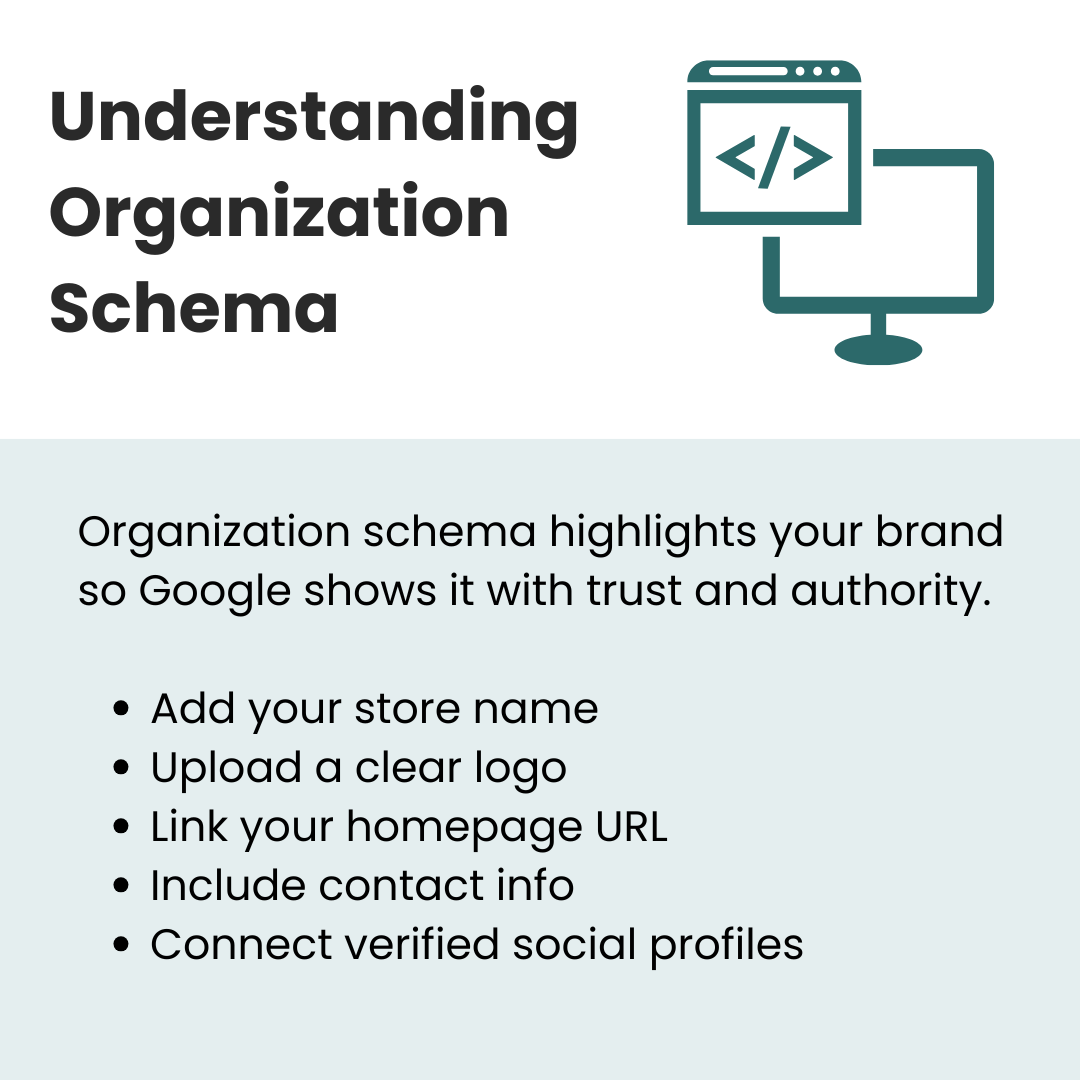
Organization schema covers your store as a whole, your brand details, logo, and how people can reach you. It is crucial for store-wide credibility.
What to include:
- @type: Organization.
- name → your store’s brand name.
- logo → your brand logo (make sure it is clear and meets Google’s logo guidelines).
- url → homepage URL.
- contactPoint → email or phone.
- sameAs → links to social profiles (Facebook, Instagram, LinkedIn, TikTok, etc.).
How to implement with an app:
- Open your schema app and look for Organization settings.
- Upload your logo (square format usually works best).
- Add your business email, customer service number, and physical address (if relevant).
- Paste in all your social media profile links under the “sameAs” section.
👉 Tip: Consistency matters. Make sure all the details in the schema match exactly with what is on your site and social platforms. Google hates mismatches.
5. Breadcrumb Schema
Breadcrumb schema helps Google map your site’s hierarchy so search results show neat, clickable breadcrumbs instead of long, messy URLs.
Implementation process:
- Most schema apps (e.g., Schema Plus, Smart SEO) include breadcrumb markup automatically.
- Go into your app settings and enable Breadcrumb Schema.
- Check that it shows your actual navigation. Example: product → collection → homepage.
What to verify:
- Category names in breadcrumbs match the names of your store’s collection pages.
- URLs resolve correctly – apps usually generate breadcrumb links based on Shopify navigation.
- Use Google’s Rich Results Test on a product page and confirm the BreadcrumbList schema is present.
👉 Tip: Don’t just assume breadcrumbs are fine because they look good on your store. Check how they actually show up in Google. If they look mismatched or broken, that usually means the schema isn’t firing right. Get an SEO agency to audit your schema and tighten up your breadcrumb markup so every link looks neat and trustworthy.
6. Local Business Schema
If you run a physical store alongside your Shopify shop, this one is a must. It tells Google where you are located and what your business hours are. It is great if you want to show up in local search results and Google Maps.
Fields to include:
- @type: LocalBusiness.
- Business name.
- Store address (street, city, postcode, country).
- Phone number.
- Opening hours.
- Geo-coordinates (some apps auto-pull this from your address).
How to implement:
- Use a schema app that supports LocalBusiness (Schema Plus and Smart SEO both do).
- Fill out the Local Business section inside the app with your NAP (Name, Address, Phone) details.
- If you have multiple locations, some apps let you create entries for each one.
- Make sure details match your Google Business Profile – Google cross-checks this.
👉 Tip: Don’t add Local Business schema if you are purely online. Google can penalize you if you fake a physical presence.
If you want to see the Local Business schema done properly, check out The Dermatology and Laser Group. Their markup covers all the right details that Google actually values.
You will find the full business name, a properly formatted street address, and a working phone number - all lined up exactly with what shows on their site and Google Business Profile. That consistency matters because even small mismatches can trip you up in local search.
They have also marked up their opening hours, which is one of those details businesses often forget. That sounds minor, but when someone’s searching “dermatologist open near me,” those hours help push you into the right results. On top of that, they have included geo-coordinates, which helps Google pinpoint their location more accurately for Maps and “near me” searches.
Every element from NAP details to geo-data is aligned, and that is exactly what Google looks for when deciding which local results to display first.
Advanced Schema Strategies For Shopify Store
7. FAQ Schema
This schema adds FAQs directly into search results under your product listings, which can take up a ton of SERP space.
How to mark up FAQs in Shopify:
- Install a schema app that supports FAQ markup (Smart SEO, Schema Plus).
- Add your product FAQs inside your product page content (many merchants put them in an accordion section).
- In the app, link that FAQ section to the schema. Apps usually ask you to map the “question” and “answer” fields.
Best practices to avoid issues:
- Only mark up real FAQs - don’t stuff marketing copy.
- FAQs must be visible to users on the page. Hidden content = schema violation.
- Update periodically - outdated answers can hurt trust if they show up in search.
👉 Tip: Add shipping and returns questions here. Google loves showing those because they directly help shoppers.
If you want to see how this works when it is done right, check out the Tushy FAQ page. Their FAQ section is a great reference point because it does exactly what Google expects from FAQ markup. The questions are genuinely helpful and right there on the page for visitors to read.
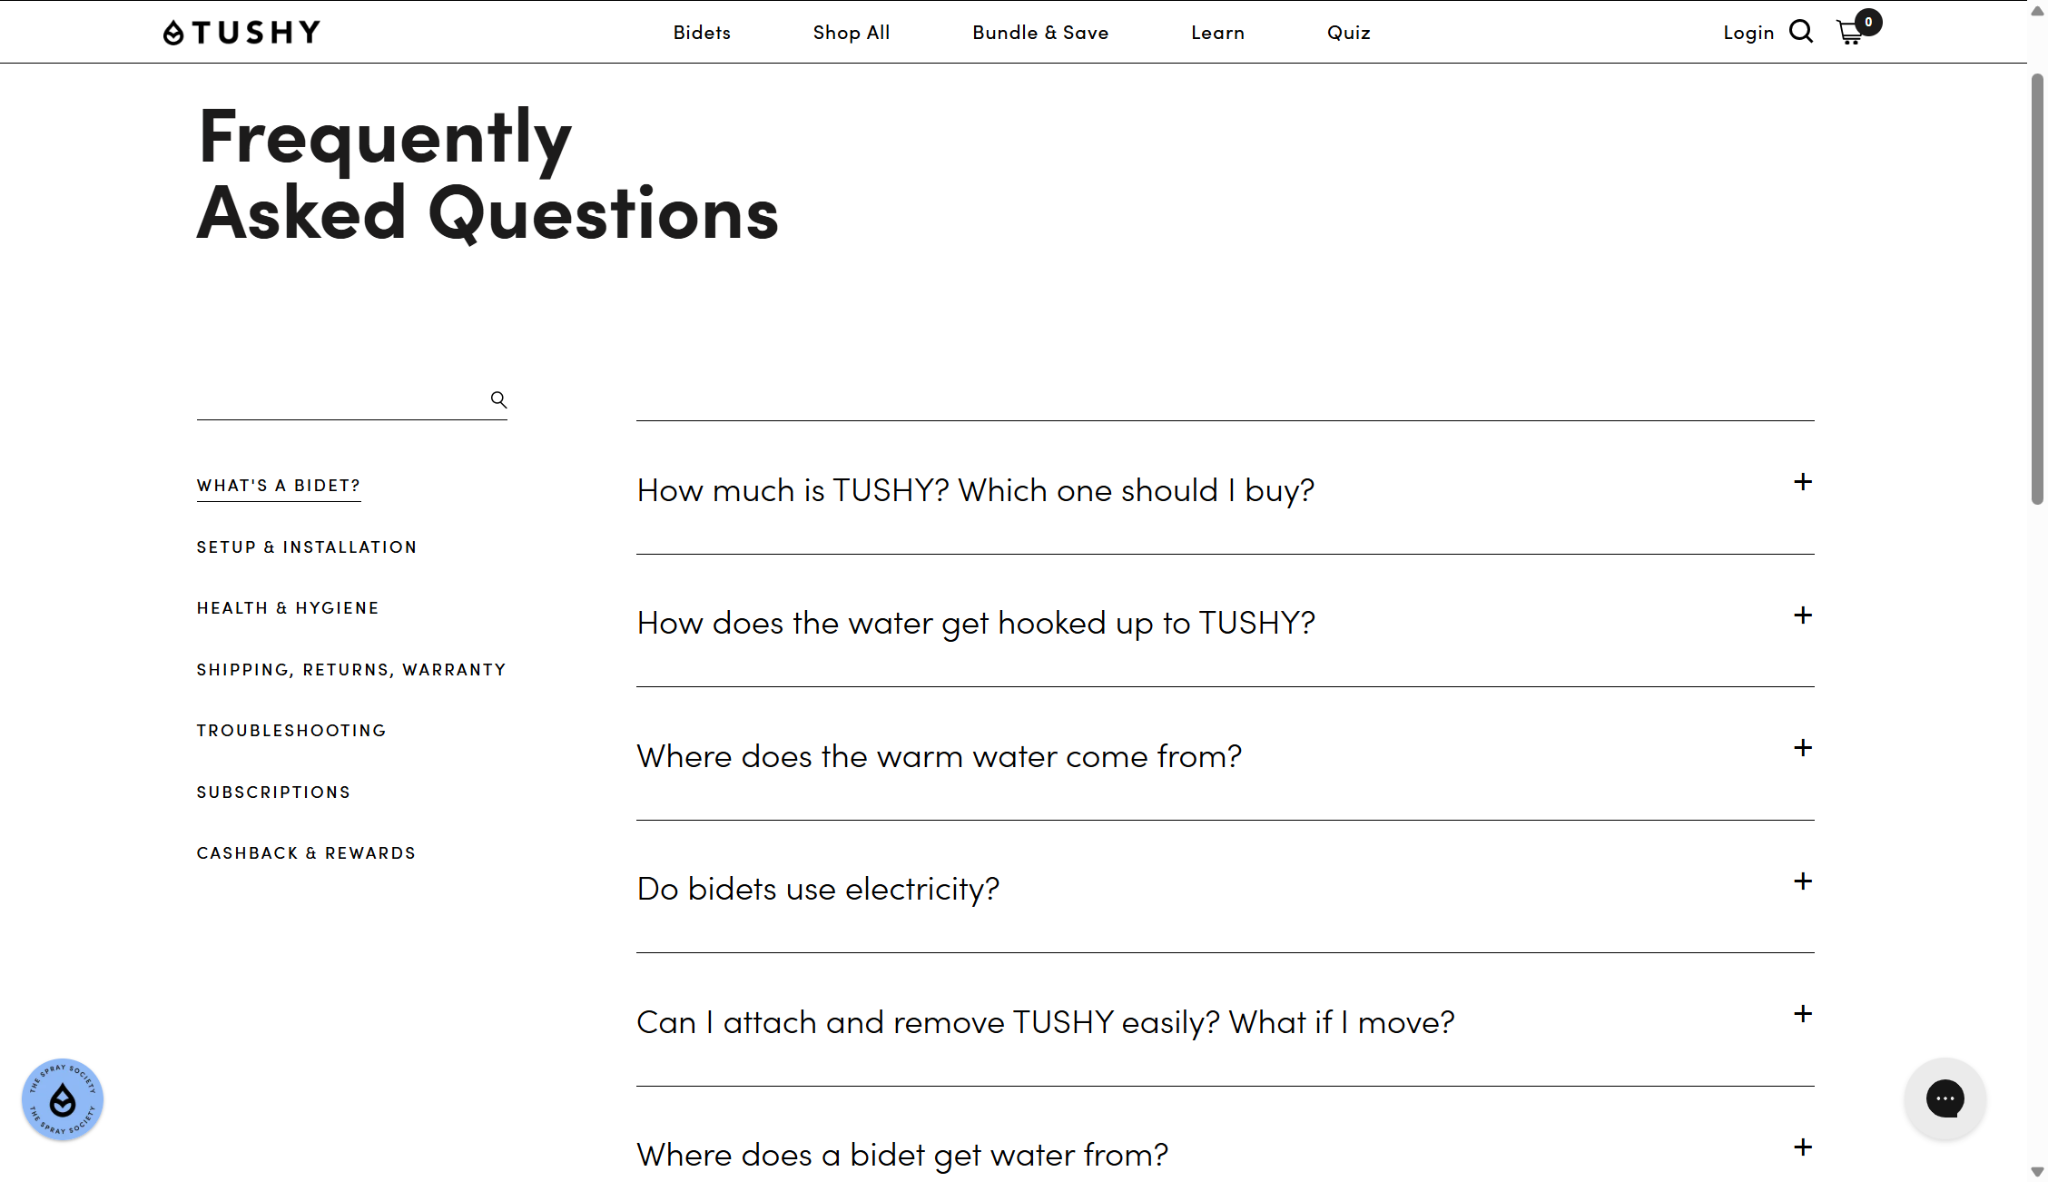
When you look closer at the schema behind their FAQs, you will notice how cleanly it is implemented. Each question is properly marked up with the FAQPage type, and every answer is wrapped inside the accepted structured data format. There is no excess code and no broken nesting that would confuse Google’s parser.
Another detail worth noting is that their FAQ schema matches exactly what is on the page. This is something Google looks for all the time. If your schema says you have 6 questions, but only 3 are visible, that is a red flag. This web page avoided that trap entirely, what you see on the page is what you see in the markup.
That balance is what gives them a better chance of occupying top positions in the search results.
8. Blog & Article Schema
If you are doing content marketing on the Shopify blog, you need article schema. It tells Google your posts are articles, which improves how they appear in search and helps bring more traffic to your store.
Adding schema markup to Shopify blog posts:
- Choose a schema app with Article markup (JSON-LD for SEO, Smart SEO).
- Enable Blog & Article Schema in settings.
- The app will automatically map:
- Title → blog post title.
- Author → Shopify account author.
- Publish date → post date.
- Image → featured image.
- Article body → blog content.
- Double-check that the author field is consistent. Use your brand or a real author, not “Shopify Admin.”
👉 Tip: Upload high-quality featured images – Google often pulls these into snippets. Do add structured author profiles if your app allows. A named author (with a linked profile) builds trust.
One standout example we came across is this optimal creatine intake guide. The first thing you notice is the author schema. It is written by Elliot Reimers, M.S.(C), CISSN, CNC – full credentials included. That matters because having a real, qualified author tied to the post builds instant credibility.
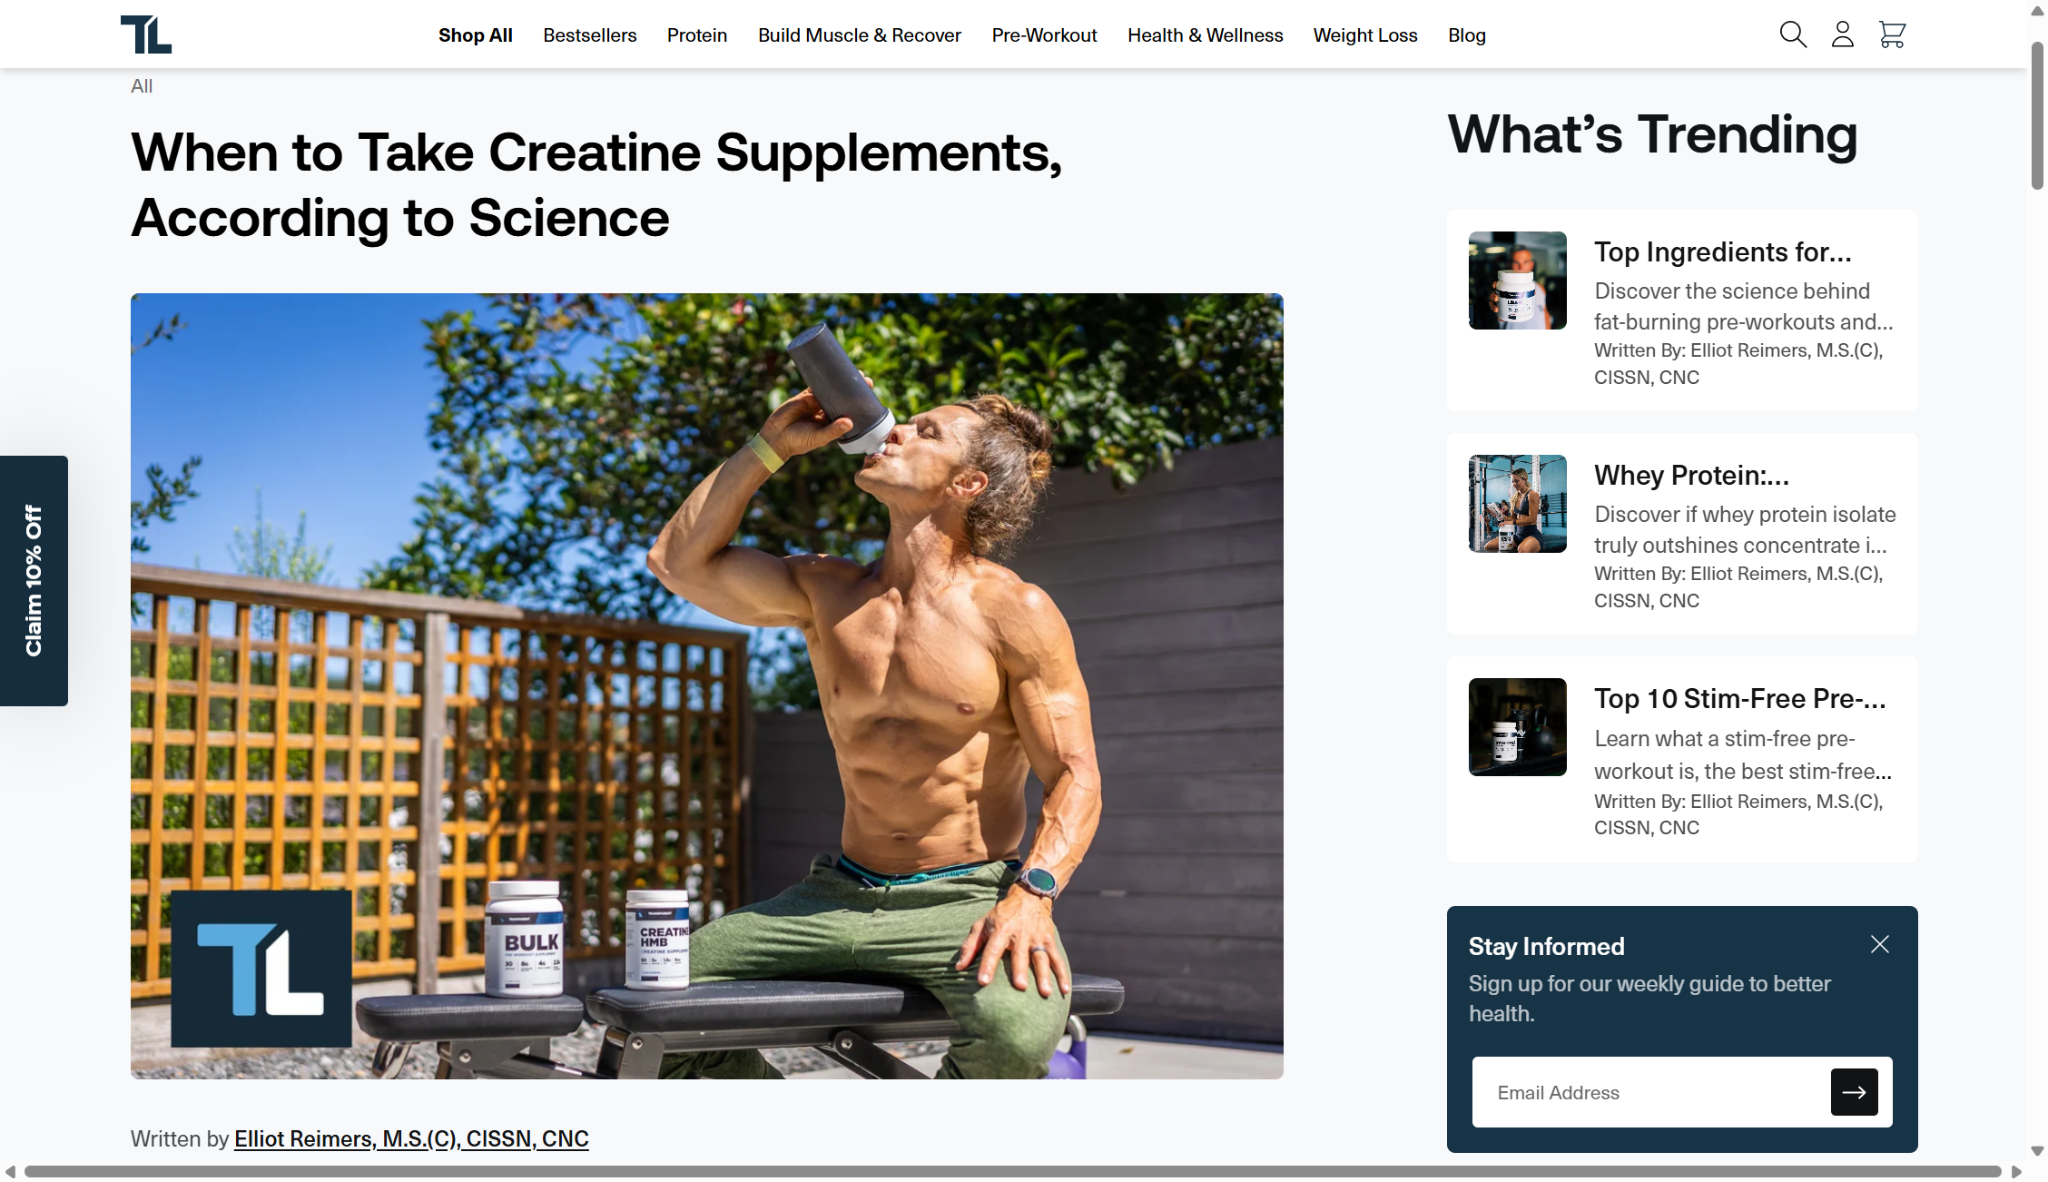
They have also kept their content fresh. Right at the top, the update date is included in the article schema. That small detail tells both readers and Google that the information is up to date. For topics that change with new research or trends, this is a big win.
The featured image is high quality and directly connected to the article schema, which means Google can easily pull it into rich snippets.
9. Video Schema
Today, marketing runs on videos. If you are embedding product videos on your Shopify pages, don’t waste that effort by leaving them invisible to Google. Video schema (VideoObject) tells search engines exactly what your video is about, so it can show up in video-rich results.
How to implement:
- Use a schema app that supports VideoObject markup (Schema Plus is a strong choice).
- Upload your video to YouTube or Shopify’s built-in video uploader.
- In the app’s video schema settings, link each product video to its product page.
- Add these fields inside the app:
- name → video title (make it descriptive).
- description → short summary of the video.
- thumbnailUrl → image still from the video (apps usually auto-pull this).
- uploadDate → date the video went live.
- contentUrl → actual video file URL (or YouTube/Vimeo URL).
👉 Tip: When adding videos, keep titles clean, like “Red Leather Jacket – 360° Product View,” so they match buyer intent.
10. Event Schema (For Stores Hosting Events Or Sales)
Yes, Shopify stores can use Event schema – perfect if you run seasonal sales or even in-store events. It gives Google details about your event, so it can show up in event-rich results. And with 86% of adults spending at least 6 hours daily online and ready to jump on time-sensitive deals, you are missing out on them if your sales aren’t structured for search.
How to implement with apps:
- In your schema app, look for Event schema support (Schema App Total Schema Markup is good here).
- Fill out fields like:
- @type: Event.
- name → event title (e.g., “Black Friday Mega Sale 2025”).
- startDate and endDate.
- location → if physical, add address; if online, use your Shopify URL.
- description → details of what’s happening.
- offers → link to discounts or promo codes.
👉 Tip: Always update or remove expired event schema. Google penalizes eCommerce sites that leave outdated event data live.
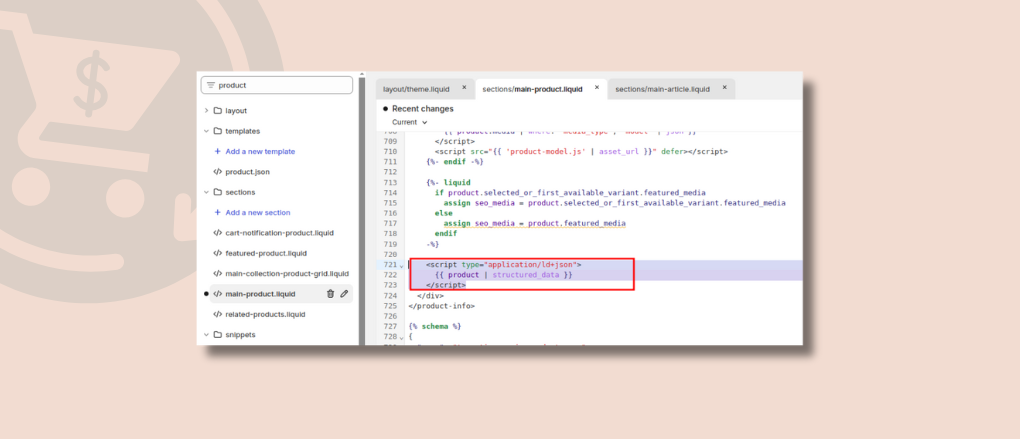
How To Manually Add Shopify Schema Markup To Your Online Store
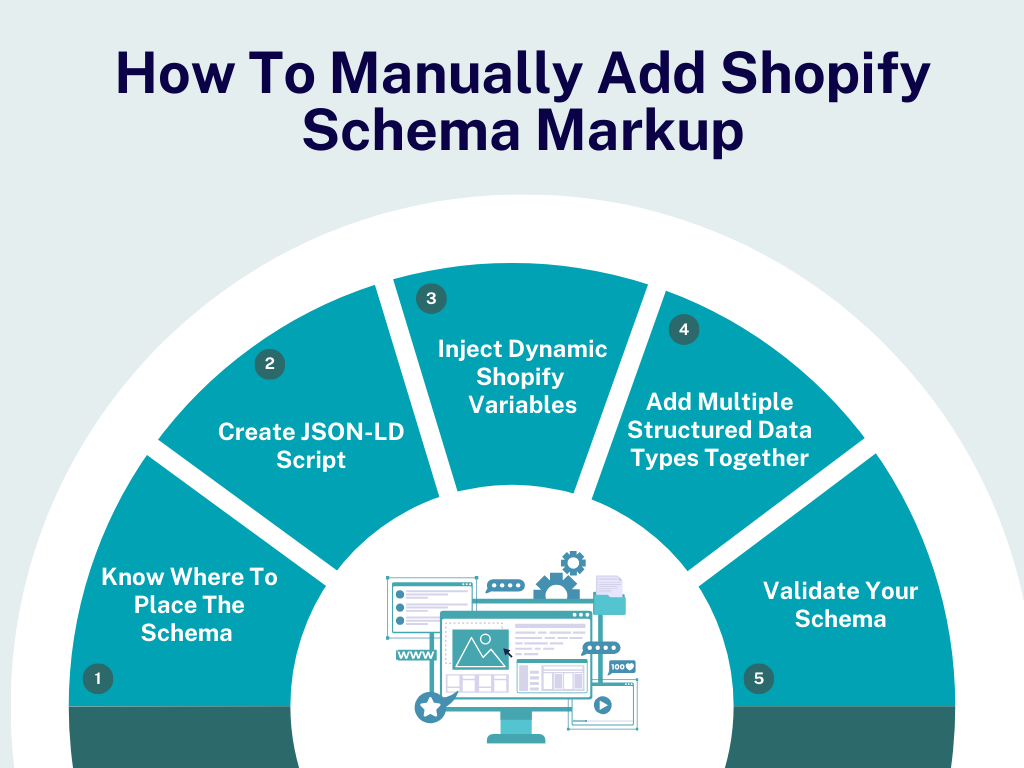
If you prefer having full control, you can manually add structured data markup to your Shopify store. It takes some patience, but once you have done it the first time, it becomes much easier to repeat. Here’s exactly how to do it.
Step 1: Know Where To Place The Schema In Shopify
Shopify themes are built on Liquid files. The most common places you will be editing schema are:
- Theme.liquid: For storewide schema like Organization or LocalBusiness.
- product.liquid or product.json: For Product, Offer, Review, or Video schema.
- Article.liquid: For Blog & Article schema.
- collection.liquid: If you want to experiment with breadcrumb schema.
Always work in the theme code editor inside Shopify and make a backup before editing (download your theme).
Step 2: Create JSON-LD Script
Schema markup should always be added as JSON-LD format inside a <script type="application/ld+json">.
Here’s an example structure you can add:
<script type="application/ld+json">
{
"@context": "https://schema.org",
"@type": "Organization",
"name": "Your Store Name",
"url": "https://yourstore.com",
"logo": "https://yourstore.com/logo.png"
}
</script>
Paste this schema code snippet directly in the <head> of theme.liquid. And replace the values with your actual store data.
Step 3: Inject Dynamic Shopify Variables
Instead of hardcoding everything, use Liquid variables so schema updates automatically when your product or content changes.
For example, in product pages:
<script type="application/ld+json">
{
"@context": "https://schema.org/",
"@type": "Product",
"name": "{{ product.title }}",
"image": ["{{ product.featured_image | img_url: '600x600' }}"],
"description": "{{ product.description | strip_html | escape }}",
"sku": "{{ product.sku }}",
"brand": {
"@type": "Brand",
"name": "{{ product.vendor }}"
}
}
</script>
For this whole process, you need some pretty serious technical skills. And if you are not deep into Shopify’s code, don’t even try. You think you are just adding a small snippet, but one tiny mistake can break something else in your theme without you even realizing it. And you probably won’t notice until traffic drops or products stop showing up correctly in Google.
That’s why we usually tell store owners: let an expert handle it. They specialize in connecting you with developers who already know Shopify’s structure, Liquid files, and schema markup inside out.
Basically, they save you from the “fix one thing, break three others” cycle and get your schema done right the first time.
Step 4: Add Multiple Structured Data Types Together
Don’t limit yourself to one type. For example, on product pages, you can combine these schema types:
- Product schema
- Offer schema (price & availability)
- Review schema (if using Shopify Reviews app)
You can nest Offer and Review within Product, or create separate <script> blocks – both approaches work.
Step 5: Validate Your Schema
After editing your theme:
- Open a product or blog page.
- Right-click → View Page Source.
- Search for application/ld+json.
- Copy the schema block.
- Test it in Google’s Rich Results Test or Schema.org Validator.
Use Shopify Schema Mark-up to Your Advantage Today
Shopify schema markup isn’t glamorous. It won’t give you a dopamine rush like a fresh theme install or a “winning” ad campaign.
But once it is set up, it keeps working in the background to make your store look legit every single time someone searches.
So, set it up and keep it clean. Do it through an app if you want speed, do it manually if you want control - just don’t leave your store naked in search results.
If you already believe that every piece of your store matters, then there is something else you will want in your toolkit: Upsell.com.
We will help you unlock extra sales with almost zero extra work post-checkout. Instead of chasing new customers, we let you squeeze more value out of the ones you already have.
Start for free or book a demo to see exactly how much extra revenue your store could capture.
Author Bio:

Burkhard Berger is the founder of Novum™. He helps innovative B2B companies implement modern SEO strategies to scale their organic traffic to 1,000,000+ visitors per month. Curious about what your true traffic potential is?


.png)